Halloween Party Menu
It’s true. I’ve been known to get just a little carried away during the holidays. I’m not biased. I treat all holidays the same when I consider the opportunities. While I’m really not the person that goes overboard with decorating, I do get a little “enthusiastic” when it comes to the parties and entertaining. And, since I love to throw a dinner party, when I get to throw a party during a holiday, I’m one happy hostess.
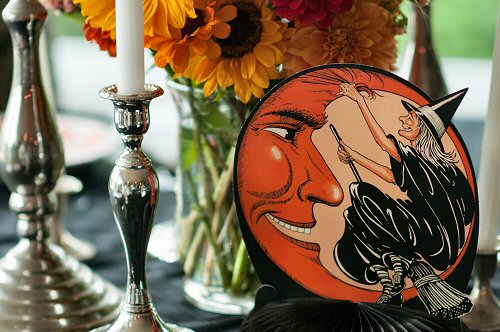
Thanks to a little shopping last month on eBay, I was able to find some fun, vintage Halloween decorations. I also had several things on hand, like silver candlesticks (some that belonged to my mom, others we got as wedding presents) and old, peanut butter glasses that my mother-in-law gave me. The collection of newly purchased (even if vintage) and already-owned came together for this dinner party table.
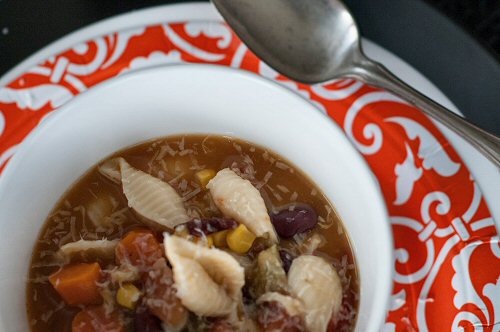
I wanted a splash of color in the table setting but didn’t want to buy salad plates just for this party. So, I layered paper plates between the dinner plates and soup bowls. The spider web place mats were an inexpensive splurge to add just a hint of “spooky” to the whole affair.
Here’s the simple menu that we served:
MENU
Toasted Baguettes
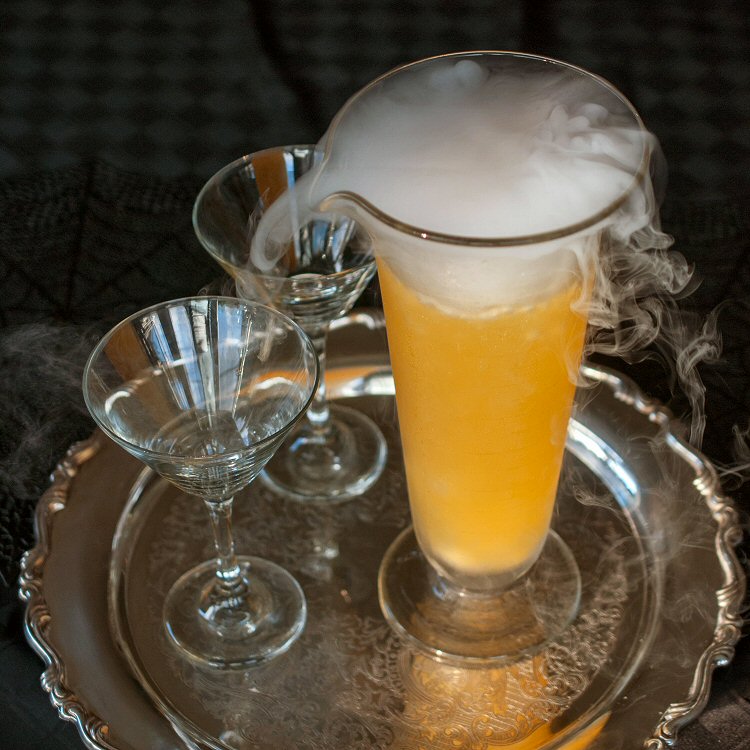
When considering which cocktail we should serve, I had two objectives. First, I wanted it to look like it should be served at a Halloween dinner party. In other words, it had to be the right color. (Sorry all you red cocktails. Your turn will come.) Second, I wanted to serve it out of our antique beaker. The beaker is one of our most treasured possessions. It originally belonged to Jon’s grandfather, who owned a pharmacy in Seattle. I was very committed (a delicate way of saying I was slightly obsessed) with giving the beaker a new purpose as a cocktail server.
Oh, I forgot to mention that I also really wanted to use dry ice in the cocktail to give it an appearance of a potion.
The whole thing was a smashing success. Our amazingly talented bartender was able to make the cocktails ahead of time by mixing two batches in a shaker as he normally would, and then straining them into a plastic container and putting them in the refrigerator. When it was time to serve the cocktails, he simply poured them into the beaker and added 3-4 small chunks of dry ice*. And the unexpected icing on the cake cocktail was that the carbonation from the dry ice provided some effervescence to the drink.
Happy Entertaining!
*Bartender’s Note: Here are a few key things you should know about using dry ice. If possible, buy it the day you’ll be using it as it doesn’t keep long. If you need to buy it the day before your event, get 4-5 pounds or more as at least half will evaporate overnight. Store it tightly wrapped in a thick towel, packed into a well-sealed ice chest; the less airspace the better. Don’t store dry ice in your freezer (it can damage your thermostat). When it’s time to serve your drinks, chip off a few small pieces from the block of dry ice with a hammer and chisel (or big screwdriver). Don’t touch the dry ice with bare hands (it’s so cold it will burn your skin). Carefully drop the pieces into your pitcher; they’ll sink to the bottom where they’ll bubble for 10 minutes or so. You can serve the cocktail while the dry ice is still bubbling; pour carefully so that a piece doesn’t end up in someone’s glass.


Leave a Reply